When it comes to installing a ductless mini-split HVAC system, proper placement plays a vital role in maximizing its efficiency and performance. Even systems manufactured by Tempstar need to be placed in the right place. Whether you’re a homeowner in Maryville, IL, or a professional installer, understanding the best practices for positioning indoor and outdoor units is crucial. In this blog post, we will provide you with comprehensive guidelines to ensure a successful and efficient installation of your new ductless mini-split system.
Assess Your Space
Before you begin the installation process, carefully assess your space to determine the optimal locations for the indoor and outdoor units. Consider factors such as room size, layout, and furniture placement. Identify the areas that require heating or cooling the most and prioritize these zones for unit placement. Additionally, evaluate the availability of electrical connections and the accessibility of the outdoor unit for maintenance purposes. By conducting a thorough assessment, you can make informed decisions regarding the positioning of your ductless mini-split system.
Indoor Unit Placement
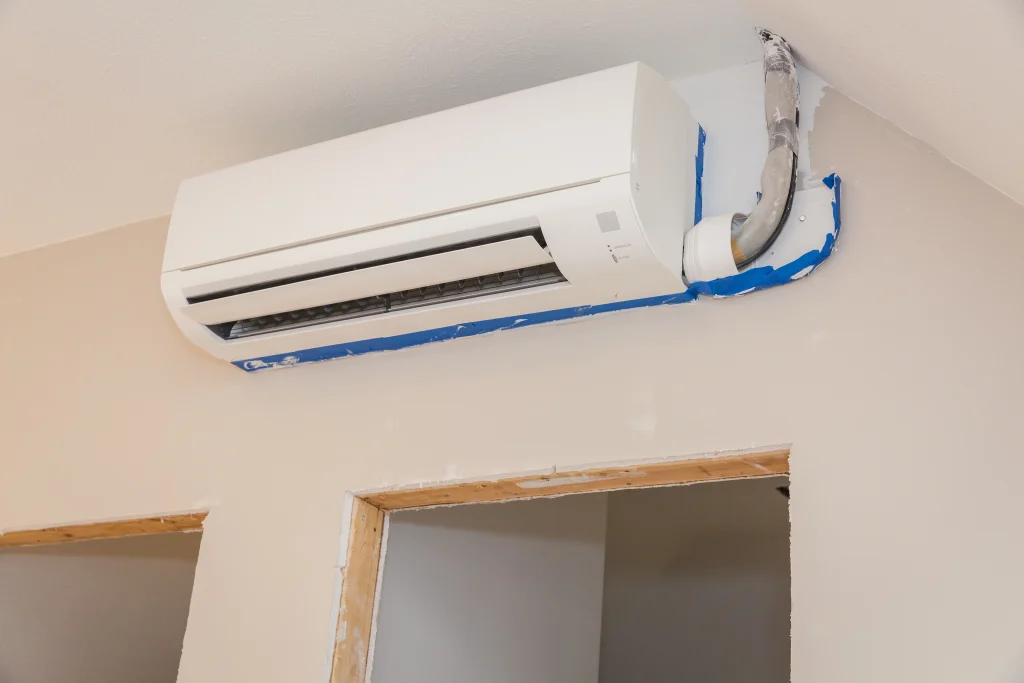
Choosing the appropriate location for the indoor unit is crucial to ensure optimal air distribution and comfort. Select a spot that allows for even airflow throughout the room, avoiding obstructions such as curtains, furniture, or other obstacles. Consider installing the unit at a height of around 7-8 feet above the floor to achieve efficient air circulation. Additionally, try to position the unit away from direct sunlight or other heat sources to prevent false temperature readings. By strategically placing the indoor unit, you can enjoy consistent cooling and heating in the desired areas of your space.
Outdoor Unit Placement
Proper placement of the outdoor unit is essential for the efficient operation and longevity of any ductless mini-split system, including Tempstar ones. Locate a suitable area where the unit can be securely mounted, providing ample space for airflow and maintenance. Ensure that the installation site is free from debris, vegetation, and other potential obstructions. Avoid placing the unit near windows, doors, or living areas to minimize noise disturbances. Adequate airflow around the outdoor unit is crucial for optimal heat exchange, so maintain clearances as recommended by the manufacturer. By carefully selecting the outdoor unit’s placement, you can enhance the system’s performance and minimize any potential issues.
Electrical Considerations
During the installation process, ensure that the electrical requirements of your ductless mini-split system are met. Consult a professional electrician to ensure proper wiring and electrical connections. Be aware of the voltage and current requirements specified by the manufacturer and use appropriate wiring and circuit breakers. Install dedicated electrical lines for both the indoor and outdoor units to prevent overloading the existing electrical system. Proper electrical considerations will not only ensure the system’s safe operation but also prevent potential damage and maximize its energy efficiency.
Professional Mini-Split Installation

While some Maryville, IL homeowners may attempt a DIY installation, it is highly recommended to hire a professional for the installation of your ductless mini-split system. Certified technicians possess the necessary expertise and experience to perform a seamless installation while adhering to industry standards and safety guidelines. Professional installation ensures that your system functions optimally and minimizes the risk of potential issues down the line. Moreover, it provides you with peace of mind, knowing that your investment is in capable hands.
If you need assistance installing a new mini-split system in your Maryville, IL home, contact our team of professionals at B&W Heating and Cooling today! We install and service many makes of systems, including Tempstar systems.


